|
In this tutorial you will learn to use the CorEngine Post Processing system.
Step 1: Getting the tutorial resources
I assume you have already gotten yourself the CorEngine Development Kit,
but if not, then head to
http://CorEngine.sf.net and get yourself a one! The
CorEngine Development Kit contains the engine executables and the level
files we will be using for this tutorial.
Step 2: Setting up the camera position
Here is our init.lua:
  scene1 = Engine.LoadScene( "level1.pak" )

  while ( Engine.Run() == true ) do
  end
|
Lets set up our camera position in a way that it will be easy for us to
preview all of the effects.
  scene1 = Engine.LoadScene( "level1.pak" )

  camera1 = Scene.GetActiveCamera( scene1 )
  Actor.SetPosition( camera1, 0.5, 24.0, 5.0 )
  Actor.SetRotation( camera1, 75.0, 0.0, -180.0 )

  while ( Engine.Run() == true ) do
  end
|
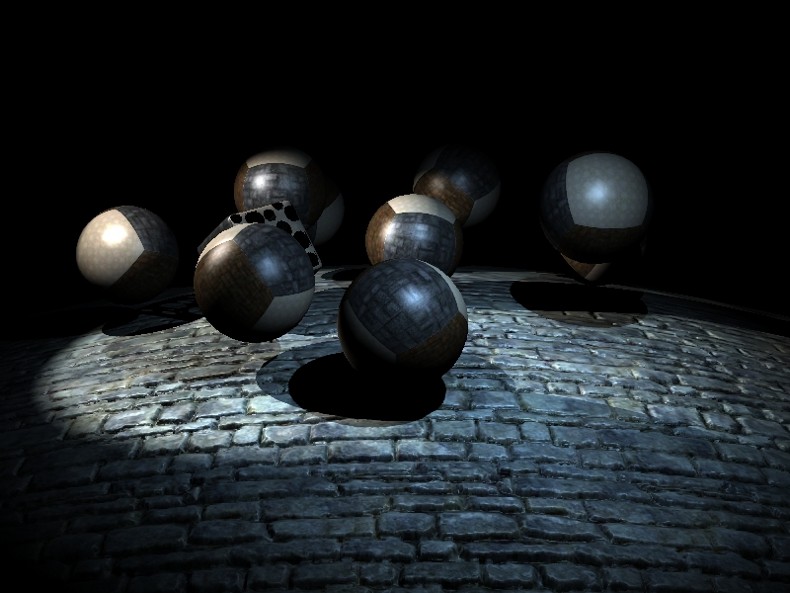
Try running the code, you should see something like this:

Step 3: Adding some bloom
Lets add some bloom to our scene.
  Engine.SetBloom( 0.35 )

  scene1 = Engine.LoadScene( "level1.pak" )

  camera1 = Scene.GetActiveCamera( scene1 )
  Actor.SetPosition( camera1, 0.5, 24.0, 5.0 )
  Actor.SetRotation( camera1, 75.0, 0.0, -180.0 )

  while ( Engine.Run() == true ) do
  end
|
The reason why we set the bloom before doing anything else in the code
is because doing it first will let the post processing buffers have the
fastest memory available on the GPU.
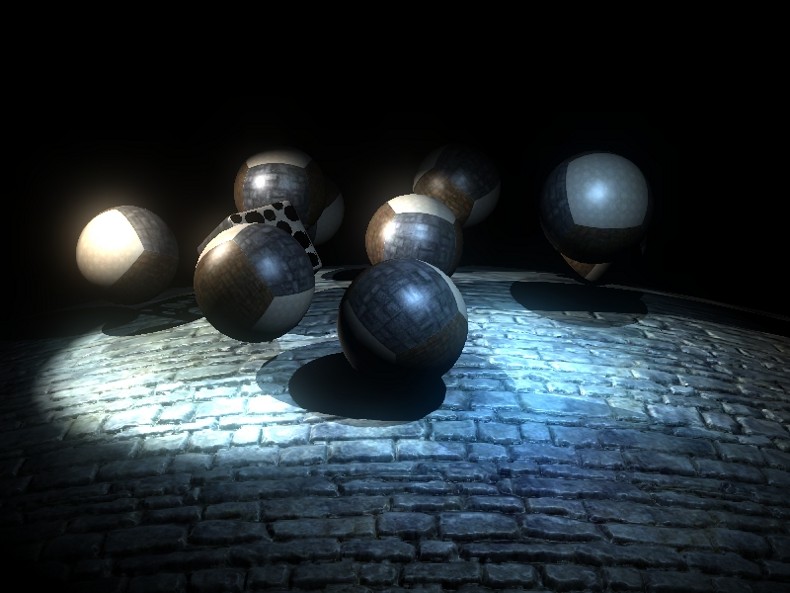
The function Engine.SetBloom takes one parameter, which is the
threshold for what how much color gets through to the blooming pass. The
smaller the value, the more bloom you get. The minimum of the value is
0.0001 and the maximum is 1.0.
Try running the code, you should see something like this:

Step 4: Adding some Depth of Field
Lets add some depth of field!
  Engine.SetBloom( 0.35 )
  Engine.SetDof( 5.0, 18.0 )

  scene1 = Engine.LoadScene( "level1.pak" )

  camera1 = Scene.GetActiveCamera( scene1 )
  Actor.SetPosition( camera1, 0.5, 24.0, 5.0 )
  Actor.SetRotation( camera1, 75.0, 0.0, -180.0 )

  while ( Engine.Run() == true ) do
  end
|
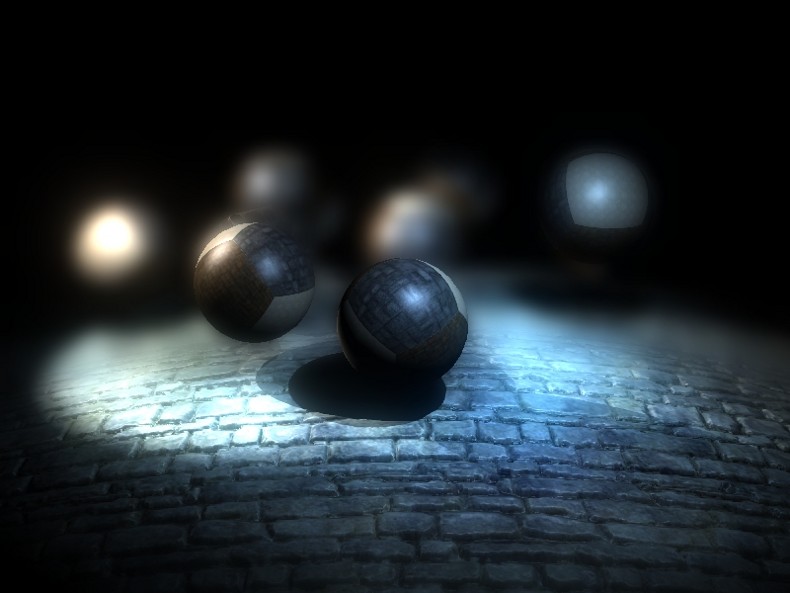
The first parameter of Engine.SetDof is the range of the sharp
area of the depth of field, meaning, the larger this value is, the more
objects with be in the sharp area. The second parameter is the distance
from the camera to the hotspot of the depth of field. Play with these
values to see what exaclty they do ;).
Try running the code, you should see something like this:

Step 5: Adding some Light Shafts
Lets add some light shafts. For this we need to create a new light
behind the entities so that the effect would look cooler ;).
  Engine.SetBloom( 0.35 )
  Engine.SetDof( 5.0, 18.0 )
  Engine.SetLightShafts( 1.0 )

  scene1 = Engine.LoadScene( "level1.pak" )

  light1 = Create.Light( "ShaftLight" )
  Actor.SetPosition( light1, 0.0, -20.0, 0.0 )
  Light.SetColor( light1, 0.25, 0.5, 1.0, 0.0 )

  Light.SetShaft         ( light1, true )
  Light.SetShaftSize     ( light1, 4.0  )
  Light.SetShaftIntensity( light1, 1.0  )
  Light.SetShaftFadeOff  ( light1, 0.1  )

  Scene.AddLight( scene1, light1 )

  camera1 = Scene.GetActiveCamera( scene1 )
  Actor.SetPosition( camera1, 0.5, 24.0, 5.0 )
  Actor.SetRotation( camera1, 75.0, 0.0, -180.0 )

  while ( Engine.Run() == true ) do
  end
|
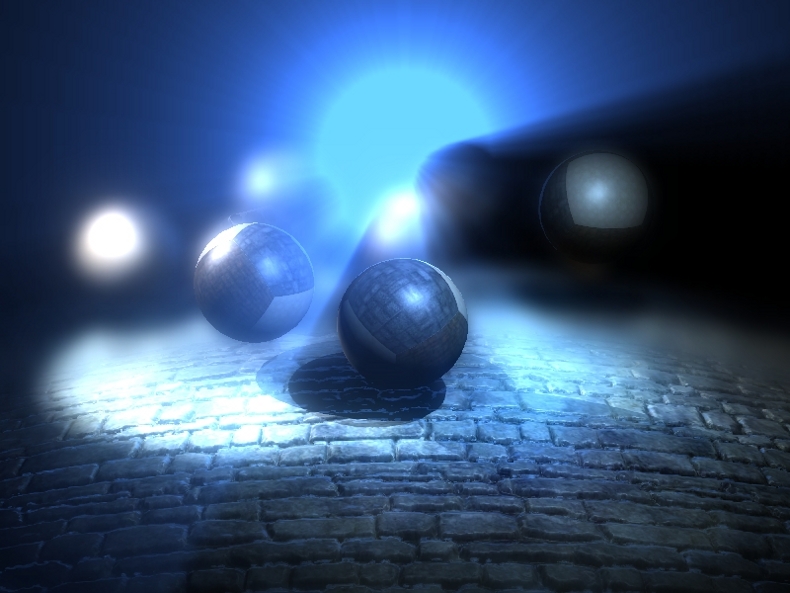
First we set light shafts on with Engine.SetLightShafts which
takes one parameter: the global intensity of the light shafts. Then we
create a light, set its position behind the scene geometry, set its color
to blue, set the light shaft settings and finally add the light to the
scene. The Light.SetShaft function takes four parameters: the
ligth we want to modify, the size of the lights beacon, the intensity of
the light shaft and the fade off. The larger size of the beacon, the more
shafts you get. The stronger intensity, the brighter the shafts are. The
smaller fade off, the longer shafts you get.
Try running the code, you should see something like this:

Nice eh? ;)
Thats it! I hope you enjoyed the tutorial, and if you have any comments
about it, please post to the
forums.
|